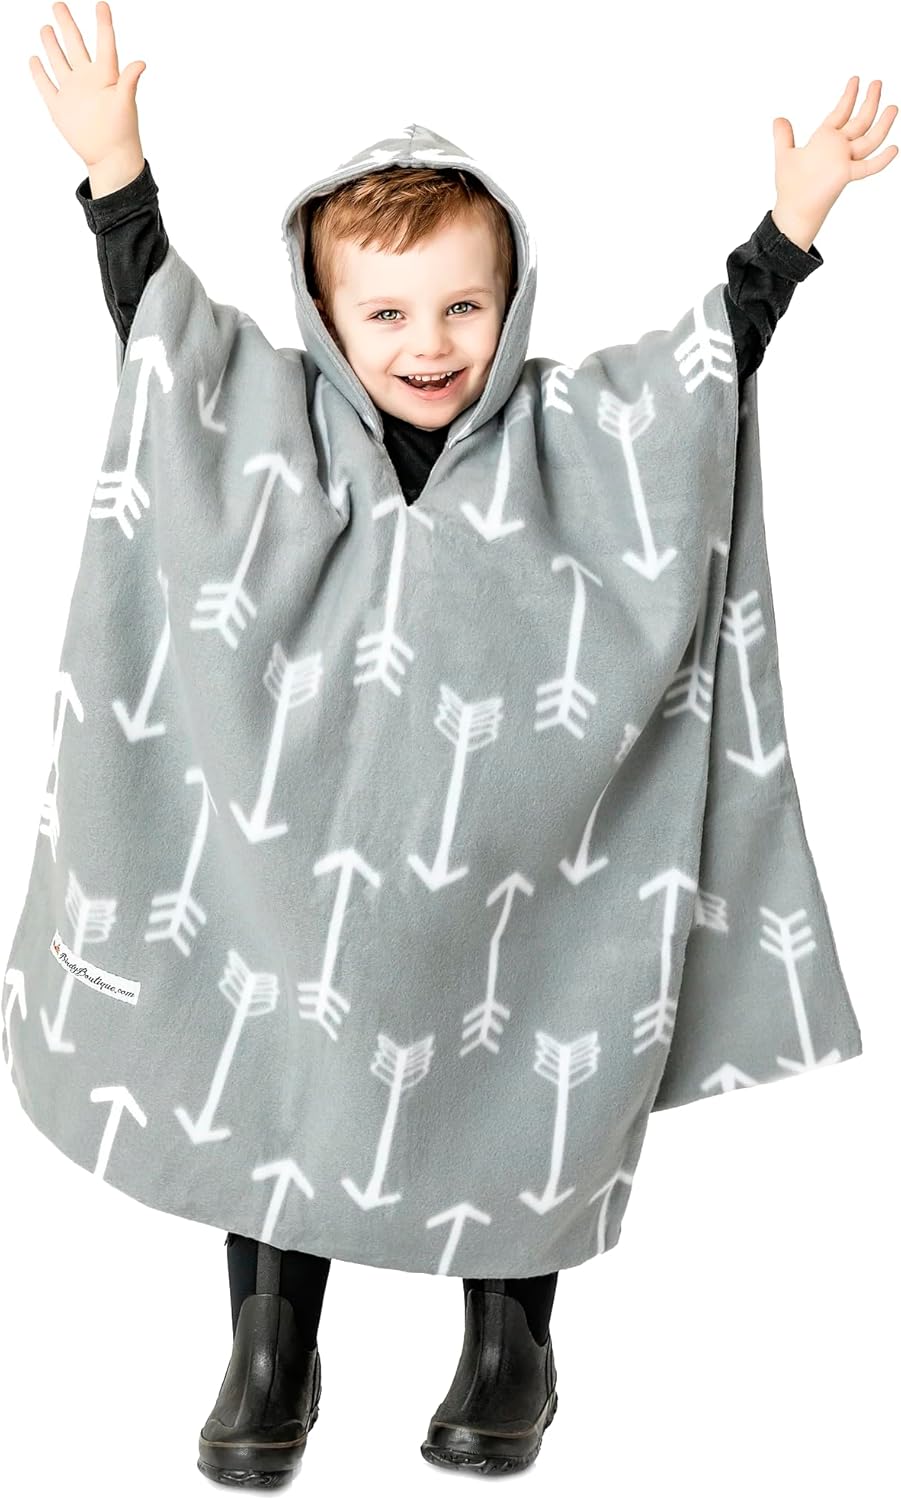
Kids Car Seat Poncho with Grey Arrows, Reversible Warm Blanket, Safe Use Over Seat Belts, Winter
FREE Shipping
Kids Car Seat Poncho with Grey Arrows, Reversible Warm Blanket, Safe Use Over Seat Belts, Winter
- Brand: Unbranded

Description
Here’s a few products in my store that you might enjoy! Keep scrolling for the poncho tutorial! DIY Kids Carseat Poncho Supplies
The person who drew this up added some extra seam allowance so it’s going to be a bit bigger than my original ponchos. The hood is also different from the original. My kids would happily go naked in 60 degree weather so I haven’t made a lighter weight coat, but I’ll give you my advice here. Thank you so much for pinning and sharing your inspo. How were these directions? What would you like to see a tutorial for next; a circular or rectangular poncho, a no sew tie knot version, adult hooded blanket, etc.? Please tag us on social media or send us photos of your proud work. Feel free to ask us any questions below; we are happy to help! You have several choices in this tutorial and all options are cozy warm, double-layered and reversible. The sizing of this poncho is meant for a 6 month old to a 3 year old. Our own kids started with these in car seats and strollers and then wore them out and about walking and running. If you make one for a baby, just make sure to adjust the size down so the baby doesn’t end up with fabric over their face. I would probably leave off the hood too. You just want to be cautious about baby overheating or suffocating.Thankfully the best search engine to ever be created (at least for visual people) was publicly open by now and I stumbled upon this tutorial for a fleece car seat poncho. I made one for each big boy and once Mercedes got big enough I made one for her. I also made one for our niece and will probably make one for our other nephews as well at some point soon. They make life so much easier! There is no fabric between the child and the straps so safety isn’t affected and because it is worn over the head it also isn’t going to fall off like a blanket could. Free Sewing Pattern: This child Car Seat Poncho Pattern is perfect going out and about – it’s so soft and comfortable like wearing a favorite blanket! Free pdf pattern and step by step picture tutorial included to make this cute and functional cape. Fold the edge of the fleece over about 1/2” and pin every couple inches all the way around. When you stitch this up, TAKE IT SLOW! And just do an inch or so at a time, feeling as you go to make sure everything is staying in place just so. (sorry I forgot to turn the light off on my sewing machine for this pic) Place the pattern on fleece and pin if you would like. I use a rotary cutter but you can also use scissors to cut out the shape. And cut! If you are using two different patterns of fleece, cut out 1 (double) pattern of each design. Step 8. Pin Hood Pieces STEP 9. Sew hood halves, flip, and top stitch. Sew hood halves together leaving a 2-3 inch opening along the bottom (base) of the hood. Flip the hood halves out and pull the edges and corners out with your fingers and/or pins. Top stitch the hood halves just like you did the body of the poncho. Slow down when you get to the opening and use your fingers to match up the edges. Do this for the other half as well. Step 10. Sew Hood Pieces Together
Topstitch around the entire edge of the poncho. I like to start near the open edge and sew that closed first before I continue topstitching around the rest of the poncho. To make the button loops, I did a simple chain stitch with a single strand of the tan yarn and a much smaller crochet hook. When all four were done, I tied the ends together around a stitch in the poncho body, so that each loop could slide easily and would be in the right place. I needed to cut a hole for the head, but I wanted to be really careful not to make it too big… because that can’t be fixed! You can always make a hole bigger later, but smaller? Not so much!
Step 4a – assemble the hood
hood pieces of fleece 10in x 11in; if choosing different prints, make 2 hood pieces of each print (We love JoAnn Fabrics, amazing coupons!) IF YOU WANT TO MAKE A DECORATIVE APPLIQUE, LIKE OUR BOW TIE, GO TO STEP 13 NOW Step 5. Sew Body Pieces
You really don’t need a pattern, but I had someone draw up a pattern if you’re more comfortable with a full pattern to follow. You still need to fold your fabric twice for the main poncho and trace the pattern from the double fold corner.With right sides together pin the two hoods together, making sure the seam at the top lines up on bothpieces. Using a walking foot sew the two together using a .5 inch (1.25cm) seam allowance. Turn hood right side out and set aside. Step 6 – sew the outer body of the cape together Again- I haven’t tried this and you probably want a good 2″ to work with to do the braiding method. But I think it would look pretty! Car Seat Coats for Warmer Weather STEP 6. Sew around the hood opening. Choose a loose zig zag stitch for this part. All you are doing is closing up the two layers so that it is easier to sew the hood on. You will have to do a lot of shifting of the fleece to ensure that the layers stay even. If it’s easier, go ahead and pin to keep the layers in place. I usually start this about an inch down from the bottom of the opening and go up and around. I sew right over that same inch on the bottom to make sure there is no unraveling. Step 7. Cut Out Hood Pieces For this tutorial, you need to use two layers of fleece. If you’re in an area with warmer winters, you could probably do only one layer. It will change how you sew your poncho slightly, but it won’t be a problem.
- Fruugo ID: 258392218-563234582
- EAN: 764486781913
-
Sold by: Fruugo